Performing Quality Check
The process of approving documents for export is a pivotal step within our product that ensures the accurate and efficient movement of documents to the next stage of data export. This comprehensive documentation outlines the steps required to complete the manual check and approve documents, facilitating their seamless transition to the export stage.
Approving documents for export is a crucial part of the document processing workflow, marking the completion of the manual check and validating the documents for further processing. By following this documentation, users can confidently navigate the approval process to ensure the accurate and timely movement of documents.
Key Steps for Approving Documents for Export
Perform Manual Check: Before proceeding with document approval, perform a thorough manual check to ensure the accuracy and completeness of the document data.
Validation and Verification: Verify that the documents meet the defined criteria, including accuracy, completeness, and alignment with any specific requirements.
Approval Process: Once the manual check is complete and the documents are validated, proceed to the approval process.
Note:
If you encounter any issues, contact your system administrator.
Accessing quality check
To quality check the document, perform the following steps.
-
In the main menu, under Documents Processing, click Quality Check. The Quality Check page opens.
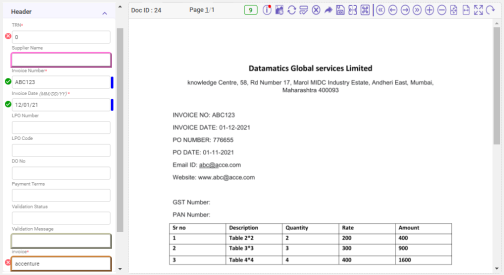
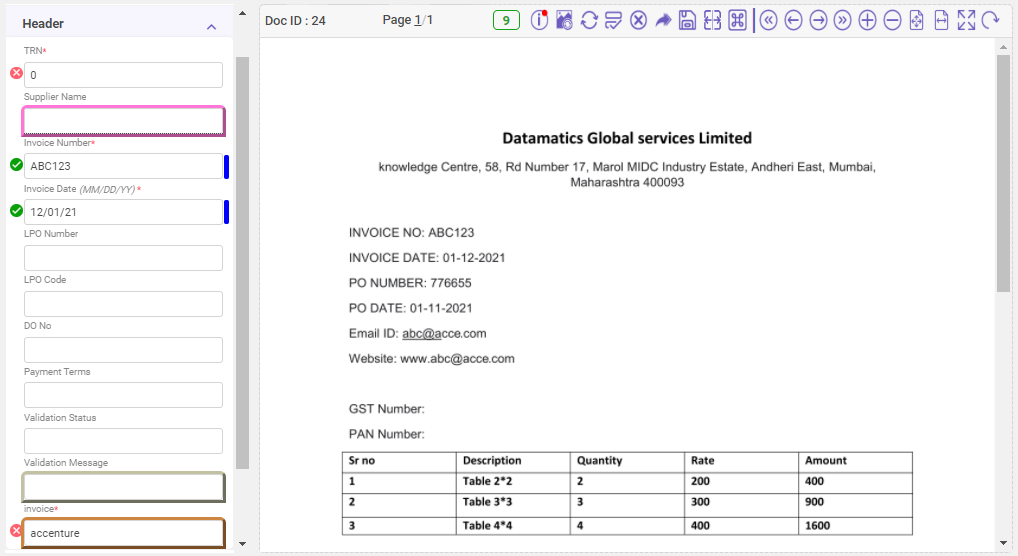
The colour indication is the field outline/band colour for textbox/dropdown reflected in MI/QC. The user can customize the colour of his choice by configuring the settings under the MI field background color section of the Application settings section.
Refer the table below for the default colour codes defined for the field types.
|
FIELD NAME |
COLOR CODE |
|---|---|
|
Derived Data |
#c2c2a3 |
|
Operator Data |
#CD853F |
|
Multi Suspect Data |
#FFBF00 |
|
Auto Correct Data |
#8cff66 |
|
OCR Data |
#ffffff |
|
Must Focus Data |
#d3d3d3 |
|
Read Only Data |
#ff76d8 |
|
Stop and Confirm |
#32CD32 |
Quick access toolbar
The below image explains some handy tools available on the upper-right corner of the Quality Check page.

Click on the individual drop-downs for a detailed explanation of the available features.
 How to check readability score?
Hover over the Readability score  icon to view the readability score
 of the displayed document. The readability score of the same document can also be viewed on Document monitor page under readability score column.
Note: The number displayed on the readability score icon will vary depending on the readability score of the document displayed on the MI screen.
Warning
Hover over the Warning  icon to view document-related information (as shown in below image).
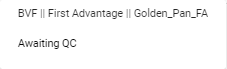
The top line displays the category || project || subtype to which the document displayed on the MI screen belongs. The bottom line displays the message.
How to view OCR converted image?
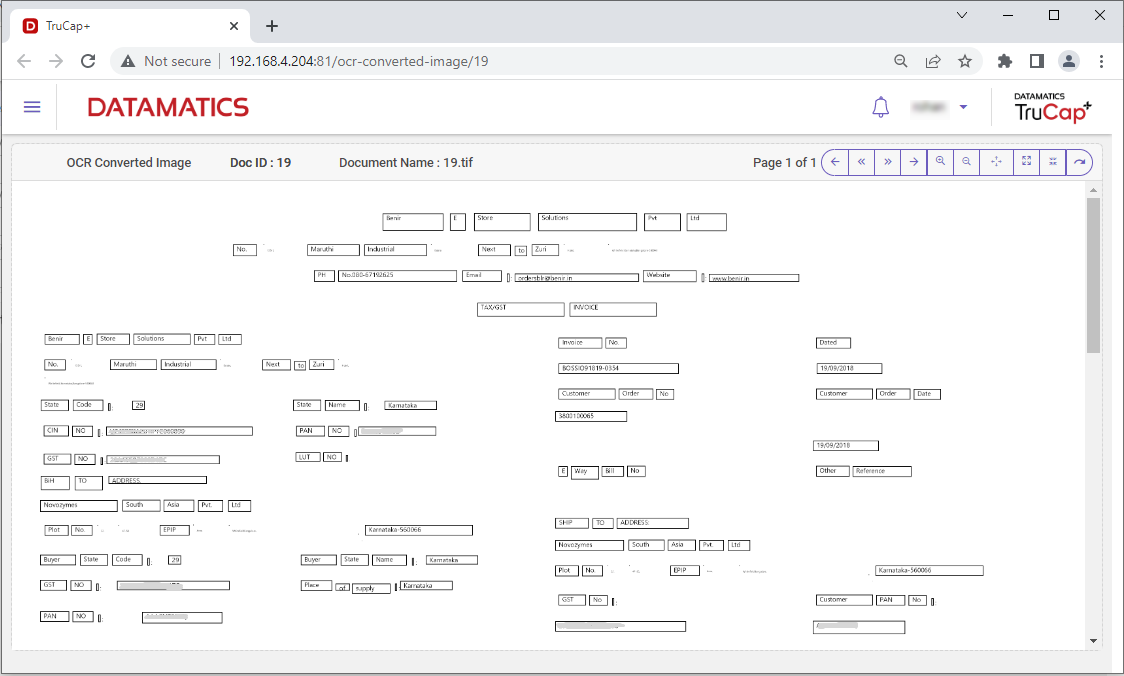
Click the  icon to view the OCR converted image in a separate tab (see below).
The below image explains some handy tools available on the upper-right corner of the page.

Hover-over the above image to know about the available features.
How to cancel changes?
Click the  icon to reset any changes. The Cancel changes? pop-up opens. Click OK to reset any changes done on the MI screen.
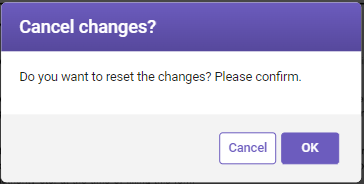
Once you click OK, the same document is displayed on the MI screen with reset changes.
How to partially save documents?
Click the  icon to partially save the changes made in the document on the MI screen. Once you click this icon, a message Document partially save successfully. is displayed at the top of the MI page.
How to reject documents?
You can also reject any document by clicking the Reject  icon, which can be viewed on Operations dashboard under rejected column.
Note: If a user is assigned a role that has delete permissions check marked for Manual Process and Quality Check, then that user can reject a document.
How to Forward documents?
Once the document is verified, if required, you can forward the documents to other users for verification.
-
Click the Forward
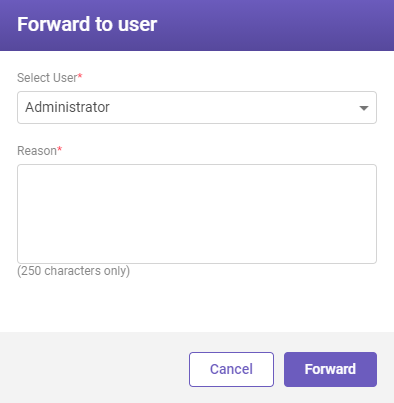
 icon to forward the document. The Forward to user window opens.

-
Select the user to whom the document is to be forwarded from the Select User drop-down list. Also, specify reason in the Reasonfield, and then click Forward to forward the document to the selected user.
How to save documents?
If the documents are accurate, click the Save  icon to move the documents to the next stage of exporting.
When you click Save, an option to save the document with or without executing validations on saved fields is available. If you click Yes, the document gets saved with validation execution i.e. only after all the fields are successfully validated.
If any field validation fails, the Admin User Confirmation pop-up is displayed, prompting to provide input on whether to proceed to save the document with failed validations.
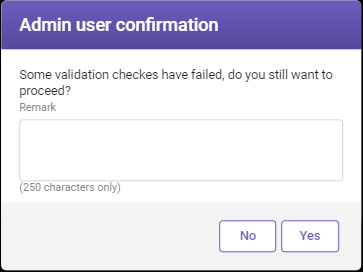
For Super user
If a user has Super user permissions granted, the Super user confirm to save pop-up is displayed, prompting to provide his input on whether the super user wants to override the field validation errors.
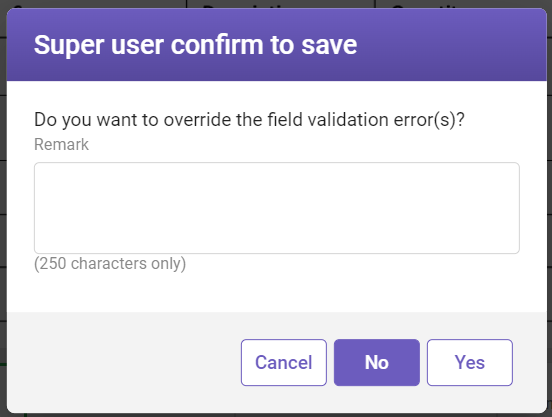
For Plain user (not Super user)
For plain user, the data is validated before saving the document. If the validation fails, user gets a notification message Field validation failed. Please correct the field values. The document is not saved.
How to send documents to splitter?
Any document that has not been appropriately split and is in the manual process stage, a user can send that document for a manual split.
When you click the Send to splitter icon, the following window opens.
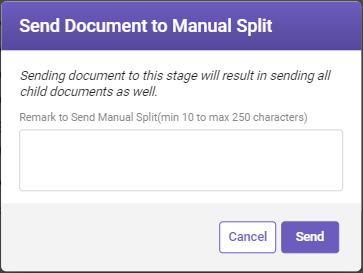
Remark to Send Manual Split: Specify the remarks if required, and then click Send .
Hot keys
To access hotkeys, click the  icon on upper-right corner of the Manual Process/Quality Check page. Following is the list of hotkeys:
|
HOTKEYS |
DESCRIPTION |
|---|---|
|
Alt+A |
Actual Size |
|
Alt+C |
Cancel Button |
|
Alt+DOWN_ARROW |
Previous row data for table |
|
Alt+I |
Zoom In document |
|
Alt+K |
Open Hot Keys pop-over |
|
Alt+M |
Send Document to Splitter |
|
Alt+O |
Zoom Out document page |
|
Alt+P |
Fit to Page |
|
Alt+PgDn Key |
Go to Last page of document |
|
Alt+PgUp Key |
Go to First page of document |
|
Alt+Plus |
Add new row data for table |
|
Alt+Q |
QC Save Button |
|
Alt+R |
Rotate Image |
|
Alt+S |
Save Button |
|
Alt+U |
Forward to User Button |
|
Alt+UP_ARROW |
Next row data for table |
|
Alt+V |
Display Validation Pop-up for current field |
|
Alt+W |
Fit to Width |
|
Ctrl+Alt+D |
Discard Button |
|
Ctrl+Alt+H |
Go to Header Section |
|
Ctrl+Alt+F |
Go to Footer Section |
|
Ctrl+Alt+T |
Go to First Table Section |
|
Ctrl+LEFT_ARROW key |
Go to Previous page of document |
|
Ctrl+RIGHT_ARROW key |
Go to Next page of document |
Page navigation

With the above section of the quick access toolbar, you can use the features available to navigate the document, or to change the size of the displayed document, or to rotate the document
Note:
The exported documents can be viewed on the Export screen.
NEXT
Now that you have quality checked the document, let's export it.
Useful links
Integrated documents processing